Introduction
When you want to use Continuous Integration or Nightly builds for your project you first need to set up a Build Agent within TFS. Automatic builds (and optionally tests) are a good practice to check the quality of you code.
Create the Agent
When you open the TFS Administration Console and click on the “Build and Release” node you will see some instructions for creating a Build Agent.

You can’t create or configure a Build Agent with the Administration Console. You need to open the TFS web portal and navigate to the “Agent Pools” option for your Project Collection. You will see that (for a fresh TFS installation) no Agents are created yet.

When you click the “Download agent” link you will be presented a page with more information about how to create the Agent. You can select the operating system you want to use to install the Agent on and click on the “Download” link.

You must extract the downloaded ZIP (in this example I’m installing the Agent on a Windows machine) to the folder where you want to install the agent. In the extracted folder you need to run the “config.cmd” file in an elevated PowerShell prompt. The executed script will guide you through the installation of the Agent by gathering all the information needed.
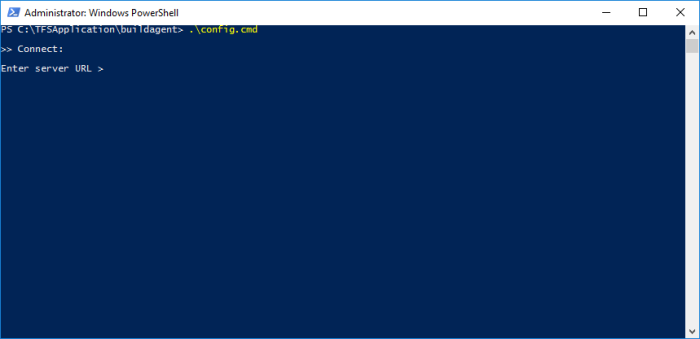
First you need to enter the URL of the TFS server you want to install the Agent for and you must enter the type of authentication you want to use for the connection. I will install the agent on the same server as TFS, in a production environment when you need more performance I advice you use a dedicated build server. I’m running the script with the same account I used to install TFS, so I have enough permissions and can use Integrated security. When the connection is a success, the script advances to registering of the Agent.

Enter the name of the Agent pool (the Default pool is created when installing TFS) and the name of the agent. The script will then register and test the connection of the Agent and will ask for the local working folder for the agent.

The next step is to specify if you want the Agent to run as a service, which I will do for this example. When you first want to test the Agent, you can also decide to not run it as a service and change this later when you are convinced the Agent is working properly. Also you must enter the service account (and password) when running the Agent as a service. It will check if the account exists before proceeding.

After entering the information for running the Agent as a service the script will register the service with default recovery options and the installation of the Agent is done.

When you now navigate to the Agent pools (and selecting the pool you have created the Agent for), you can see the just installed Agent with its capabilities.

The Agent is now ready to accept build requests!

[…] my previous post I showed the steps you need to take to create a Build Agent, but you need a Build Definition so you can really build your solution. I also installed Visual […]
LikeLike